Preparing Your Vegetable Garden for Spring Planting
As the last frost dates approach, many gardeners begin planning their spring vegetable gardens. Successful harvests often depend on the groundwork laid in the weeks before planting. Proper soil preparation, bed maintenance, and timing can significantly influence plant health and productivity throughout the growing season. This article outlines a systematic approach to preparing your vegetable garden for spring planting, focusing on soil care, composting methods, and early planting schedules.
Understanding the unique conditions of your garden is the first step. Climate, soil type, and local microclimates all play a role in how and when you should prepare your beds. By taking a careful inventory of your garden’s current state—like soil texture, drainage, and nutrient levels—you can tailor your preparation efforts to what your specific plot needs. The following sections provide a comprehensive framework for getting your vegetable garden ready for the upcoming season, from refreshing the soil to mapping out your planting timeline.
Assessing Soil Health and Structure
Before any digging or amending, it is important to evaluate the condition of your soil. Healthy soil is the foundation of a productive garden. Begin by examining soil texture: sandy soils drain quickly and may require more organic matter to retain moisture, while clay soils retain water but can become compacted and heavy. Loam, a balance of sand, silt, and clay, is often considered ideal for most vegetables. A simple jar test can help determine your soil’s composition.
Assess the soil’s structure by digging a small hole and observing how it crumbles. Good structure is crumbly and allows air and water to move freely. If the soil forms hard clumps or dust, it may need organic amendments. Additionally, check for earthworm activity and the presence of organic matter—signs of a biologically active soil. Earthworms help aerate the soil and break down organic material, contributing to nutrient cycling.
Soil pH is another crucial factor. Most vegetables prefer a pH between 6.0 and 7.0, where nutrients are most available. You can test your soil using a home kit or send a sample to a local extension service for a comprehensive analysis. If pH is off, you can adjust it over time using lime to raise it or sulfur to lower it, but this is best done well before planting. Knowing your soil’s current nutrient levels also informs what amendments you might need to add.
Taking these steps early allows you to address any deficiencies without rushing. It also helps you decide whether to add compost, aged manure, or other organic matter. This initial assessment sets the stage for the more targeted actions you will take to improve your soil.
Clearing and Preparing Garden Beds
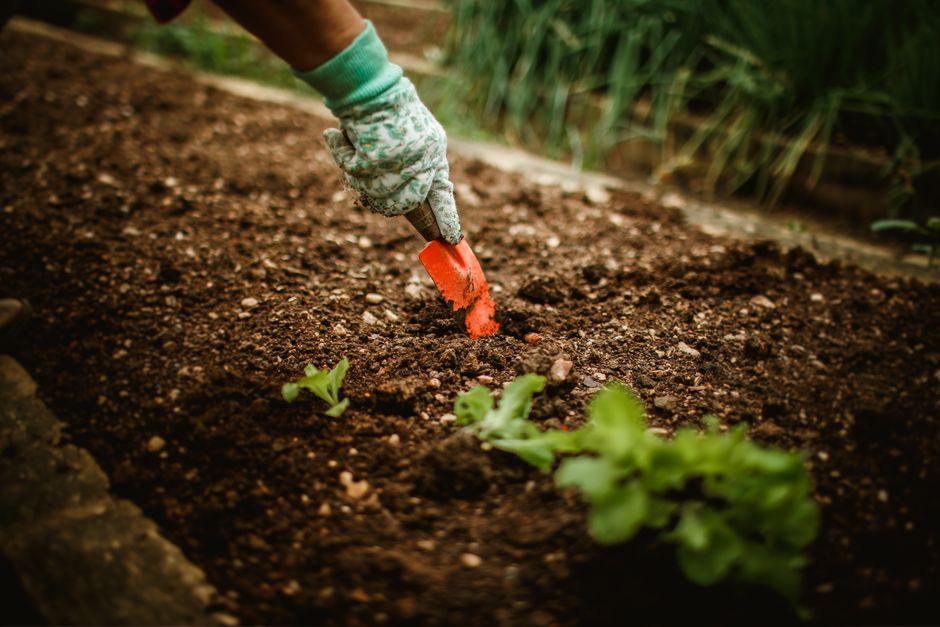
Once the soil is assessed, the next step is to clear the beds of debris and weeds. Remove any dead plants from the previous season, as they can harbor diseases or pests. Also, pull up any existing weeds, making sure to get the roots to prevent them from resprouting. This process reduces competition for nutrients and water early in the growing season.
If your garden has not been used for a while, consider using a method like sheet mulching to suppress weeds and enrich the soil naturally. Layer cardboard or newspaper over the area, then add compost and mulch on top. Over time, this breaks down and improves soil structure without tilling, which can disturb beneficial organisms. For established beds, a thorough weeding and light cultivation may be sufficient.
Tilling or turning the soil can be beneficial in breaking up compacted areas, but it should be done with care. Excessive tilling can disrupt soil structure and harm earthworm populations. For most home gardens, a spading fork or a broadfork is adequate to loosen the soil to a depth of 6-8 inches without overturning it. This helps incorporate air and allows roots to penetrate easily.
After clearing, level the beds and consider adding paths between them to avoid soil compaction when you walk. Raised beds can be particularly helpful for drainage and soil warming in early spring. If your soil is heavy clay, raised beds filled with a mix of topsoil and compost can provide a better growing environment. Preparing your beds now ensures they are ready when the time comes to plant.
Enhancing Soil with Compost and Organic Matter
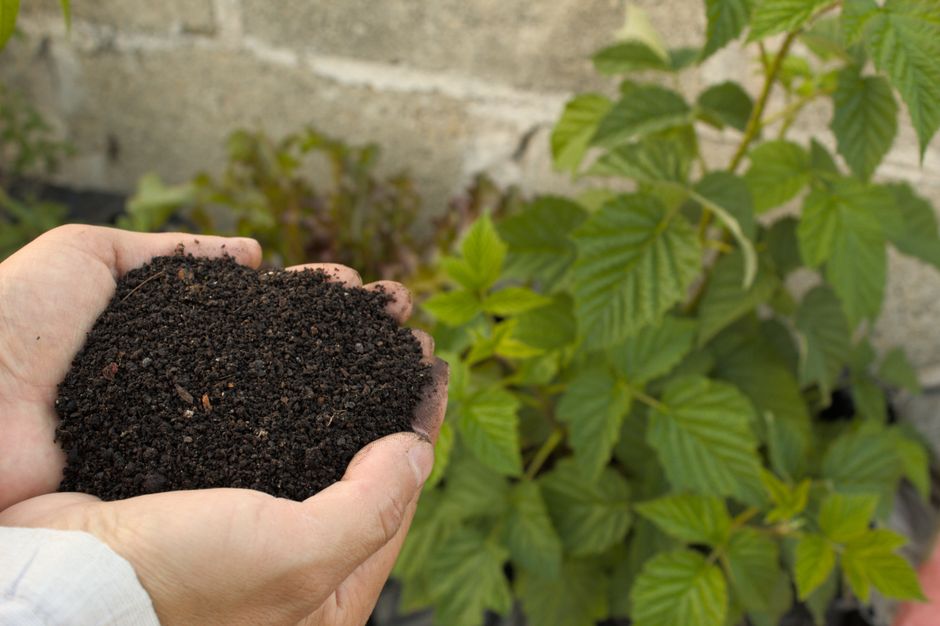
Compost is a key ingredient in preparing vegetable beds for spring. It improves soil structure, increases water retention, and provides essential nutrients slowly to plants. Incorporating compost into your beds is one of the most effective ways to boost soil health. Spread a 1- to 2-inch layer of compost over the bed and work it into the top few inches of soil. This is best done a few weeks before planting to allow the compost to settle.
You can also create your own compost from kitchen scraps, yard waste, and garden trimmings. A well-managed compost pile reaches temperatures that kill many weed seeds and pathogens, resulting in a rich, dark amendment. There are various composting techniques, from traditional bins to vermicomposting (using worms), depending on your space and preferences. If you have a compost bin, turn it regularly to aerate and accelerate decomposition. By spring, you should have usable compost to feed your garden beds.
In addition to compost, other organic matter such as aged manure, leaf mold, or cover crops can be incorporated. Aged manure adds nutrients and improves soil texture, but it must be well-rotted to avoid burning plants. Cover crops planted in the fall, like winter rye or clover, can be turned into the soil in spring to add green manure. This improves soil fertility and prevents erosion for several months.
The key is to choose organic matter that aligns with your soil’s needs and is properly decomposed before planting. Adding organic matter is not a one-time task; it should be done regularly to maintain soil vitality. Over time, this practice improves the physical and chemical properties of your garden soil, creating a better environment for vegetable roots.
Planning Your Early Planting Schedule
Knowing when to plant is essential for a successful spring garden. The last frost date in your region is a crucial marker. You can find this date from local gardening resources or almanacs. After that, you can plant warm-season crops like tomatoes, peppers, and beans. However, many cool-season vegetables can be planted earlier, even while there is a risk of frost, because they tolerate cooler temperatures.
To extend your growing season, consider starting seeds indoors under grow lights or on a sunny windowsill. This gives you a head start on crops that need a longer growing season. For example, you can start tomato seeds indoors 6-8 weeks before the last frost date. When seedlings have developed true leaves and the weather has warmed, you can transplant them into the garden after gradually acclimating them to outdoor conditions.
For direct sowing, consult the seed packet for recommended planting times. Some crops, like peas, lettuce, and spinach, can be sown as soon as the soil can be worked. Others, like squash and cucumbers, require warmer soil and should be planted after the frost danger has passed. Using a soil thermometer can help you determine if the soil temperature is appropriate for germination.
Creating a planting calendar specific to your garden can keep you organized. Note other tasks like fertilizing, watering, and weeding. By planning ahead, you can stagger plantings to have a continuous harvest throughout the season. For example, sowing small batches of lettuce every two weeks can give you a steady supply. Preparation now makes this scheduling possible, ensuring you maximize the productive potential of your garden.
Maintaining Your Garden as Spring Unfolds
After planting, your preparation efforts continue into the early weeks of spring. Regular monitoring is essential to catch any issues early. Check your beds for weeds, which can quickly outcompete young plants. Mulching around plants can suppress weeds and help retain moisture. A layer of organic mulch, like straw or shredded leaves, also moderates soil temperature.
Watering is critical during the establishment phase. Newly planted seeds and transplants need consistent moisture. However, overwatering can be detrimental. Drip irrigation or soaker hoses can deliver water directly to the root zone, reducing waste and preventing foliage diseases. Observe rainfall amounts and adjust your watering accordingly.
As the soil and air warm, plants will begin to grow rapidly. This is the time to observe any nutrient deficiencies and address them with balanced organic fertilizers if needed. For instance, yellowing leaves may indicate nitrogen deficiency, while poor blossom development could be due to lack of phosphorus. Maintaining fertility is an ongoing task, and your initial preparation sets the stage.
Throughout the season, continue to add compost as a top dressing around plants. This provides a slow release of nutrients and improves soil structure over time. By maintaining your garden attentively, you are building a resilient system that can support healthy growth. This proactive approach, rooted in preparation and assessment, aligns with sustainable gardening practices that prioritize soil health and ecosystem balance.